How to Create Your Own Pull-up Banner using Canva
Need to design a pull-up banner for your next exhibition, product launch, trade show, or conference, but don't know where to begin? In today's episode of Lightning Prints blog, we will show you how to create a pull-up banner design from scratch using Canva, an online design tool.
Canva’s templates provide a shortcut to good design: they’re fully customisable, so you can change the colors, images and more to suit your brand needs. But if you need something completely custom-made, follow our easy step-by-step tutorial to creating an effective pull-up banner in Canva like a professional!
Ready? Let’s get started.
1. Choose the right dimensions for your Pull-up Banner design
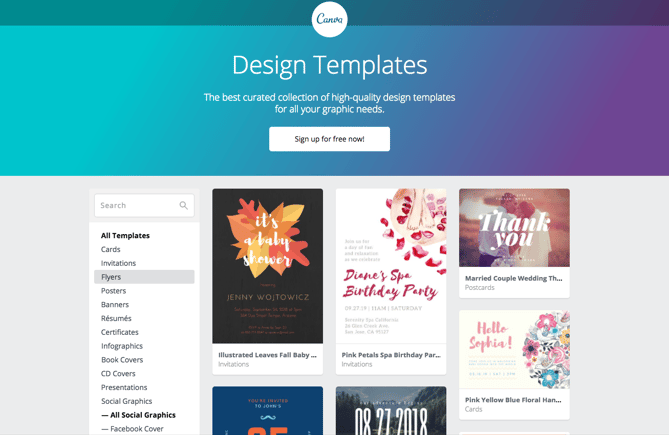
To begin, choose your design type from the Canva homepage. You can select a custom size, or choose from one of the pre-built templates.
Set custom dimensions by going to the tab Resize located on the top-left corner of the editor. Choose from pixels, cm, mm or inches. For standard pull-up banner sizes that we at Lightning Prints offer, set dimensions to either 85cm x 200cm or 62cm x 170cm. If you are not sure of which size is for you, do give our previous blog a read Pull-Up Banners - Sizes & Double-Sided Banners.

2. Choose a background
The background for your design could be a color, or a photo.
Background Colours
Different colours tell different stories. Purple is associated with individuality, orange relates to activity, and green conjures images of nature. Think about what colours best suit your needs. For help choosing a color palette, try Canva’s Color Combinations tool.
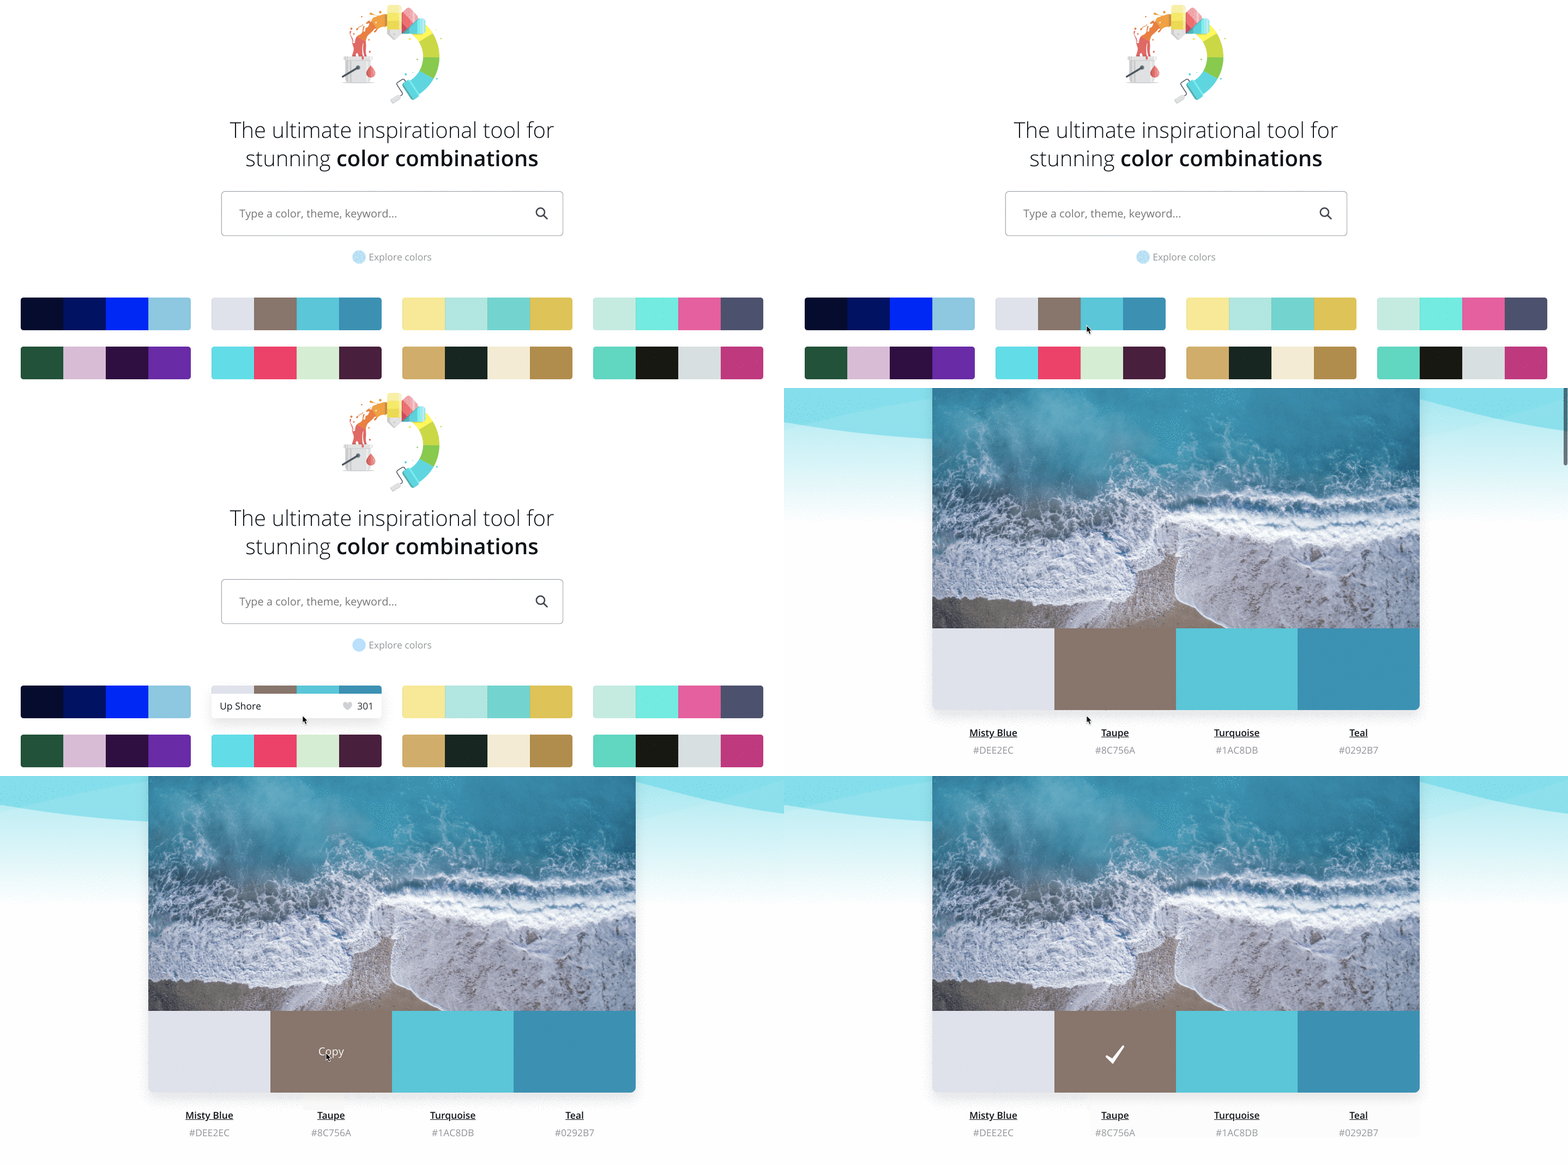
Of course, you can always use a white background too. To choose a colour, use the Colour Picker tool in the toolbar at the top of the editor.
Background Photos
To use a photo as a background:
- Click the Photos tab from the side panel.
- Use the search bar to look for specific photos, or upload your own.
- Drag an image to your working draft and drop to add it.
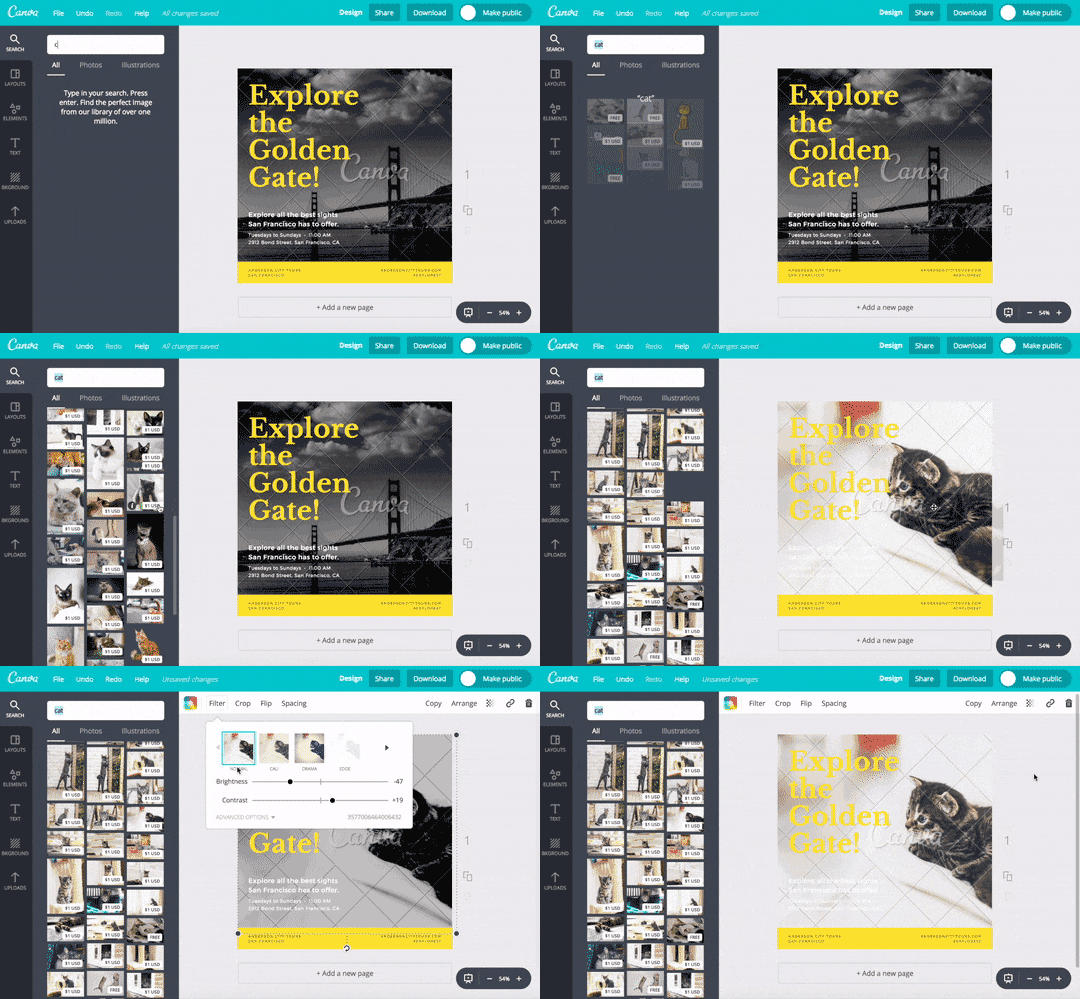
Once placed, photos can be resized, cropped, flipped and layered to create a variety of visual effects. You can add filters to change the brightness, saturation and clarity of the photo. This can help when layering text and elements.
A background photo supports the message of the content. Example, the image below uses a close up shot of some muffins to add textural interest to the design, but its main role is to act as a vehicle for the text.

If there's too much going on in the background, it’s hard to overlay things like text or illustrations. When you are choosing a background image for your design, consider texture over structure, make sure to remove any space or features in the image that creates too much noise.
3. Add your elements
Your design might include text, icons, photos or illustrations. These need to be combined in a way that is visually appealing. It is important to consider the balance and composition of all the elements in the pull-up banner design. When you're laying out your elements, ask yourself, "Are they balanced? Are they centered?" Do also ensure they’re not too close to other elements or the edge of the page.
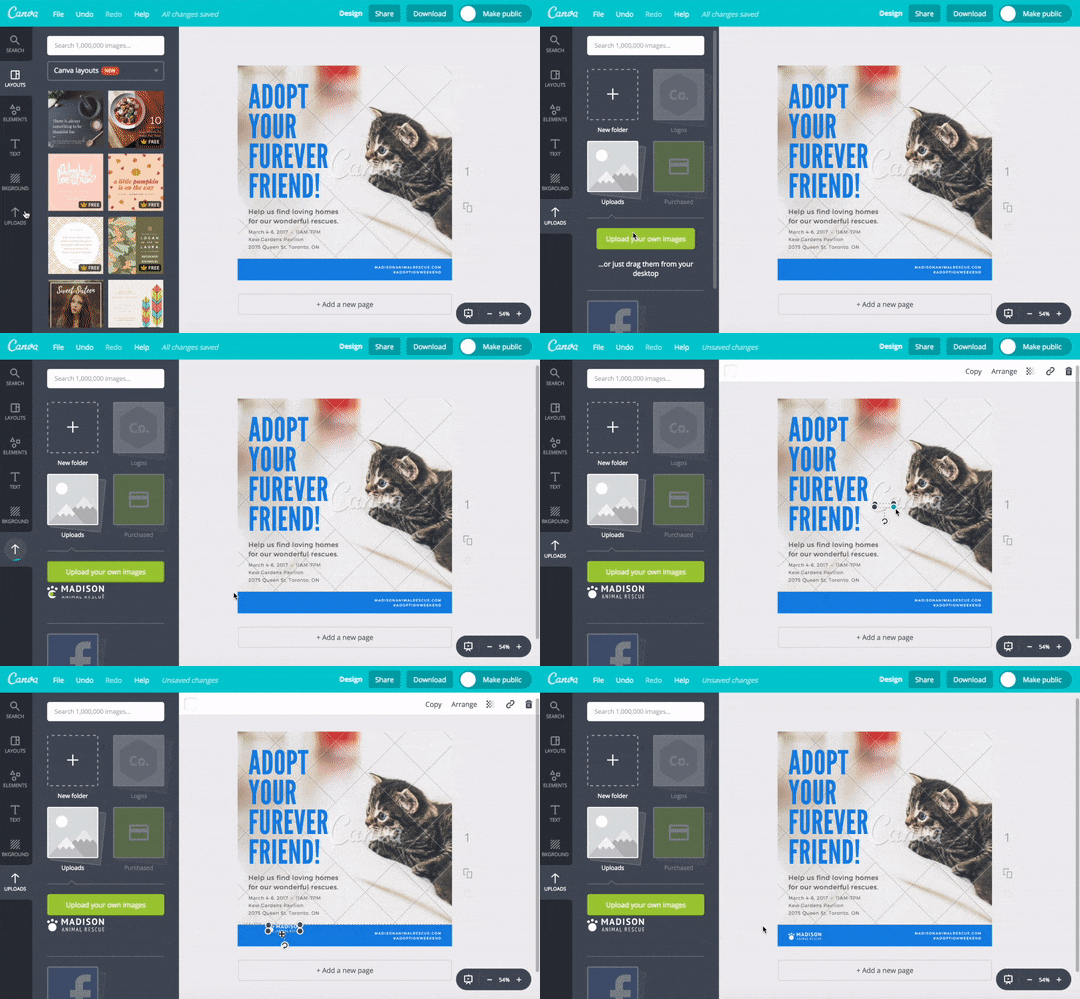
Our number one tip? Keep it simple. Don’t overload your design with too many elements, as it can confuse the visual message of the image. Try playing with size, color, and placement in order to see what works best. If you want to add a photo to your design, try using one of Canva’s frames. You can find these under “elements” in the side panel.
4. Choose the right fonts
The look of your fonts can have a huge impact on your design.
Choosing one font is hard enough. But your design may need more than one typeface. We suggest not using more than two fonts in a design, as too many fonts tends to make a design look “messy”. You’ll want to choose complementary fonts, which add visual interest while working well together. You can learn more about which fonts look good together in our previous blog post, Popular Fonts for Poster Prints.
Canva has hundreds of pre-set font combinations to choose from. You can find these in the Text tab in the side panel.
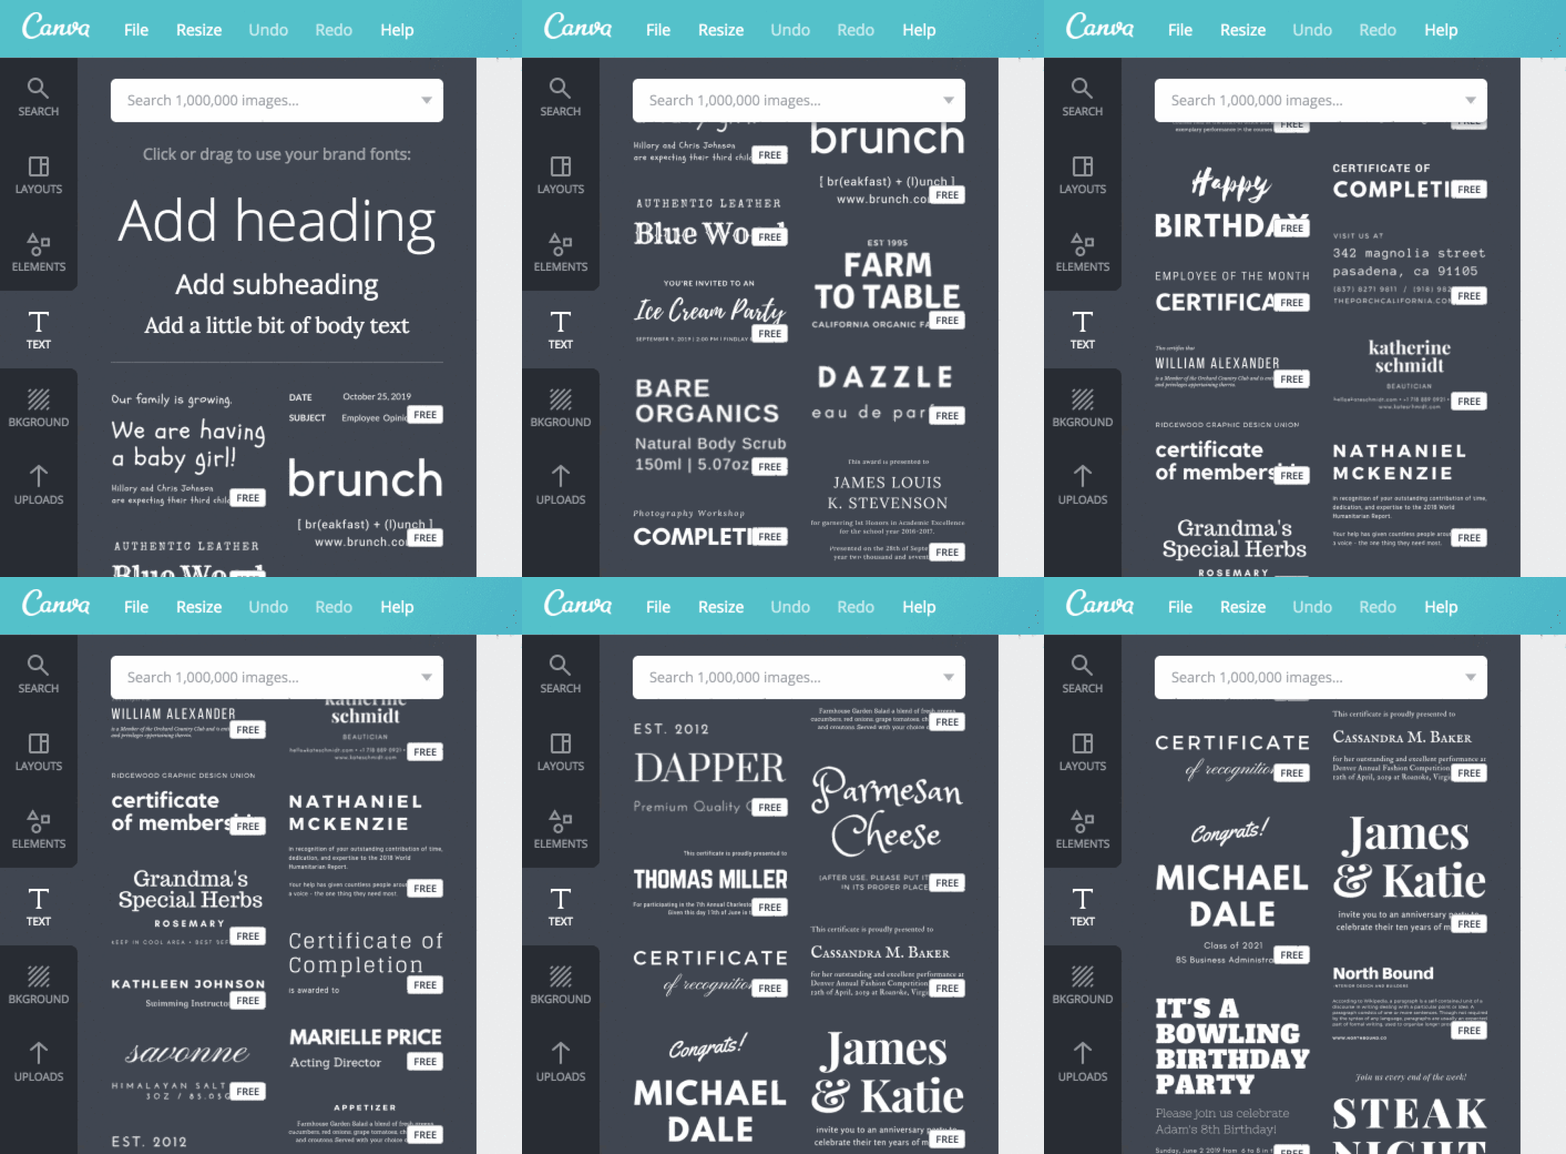
Or you can create your own combination. Again, simple is best: if you’re choosing an elaborate font, ensure you pair it with a simpler font so your design is balanced. If you have no clue what fonts to select, Canva’s Font Combination tool can help.
5. Download your file
When you’ve settled on the perfect design for your pull-up banner, click on Download located in between the Share and the Publish button from the menu bar and then select the file type you’d like to save it as. Designs can be exported from Canva in a range of formats including PDF, PNG, JPEG and more. Now it is ready for printing!
We hope this blog has been helpful in teaching you how to create your own pull-up banners. Don't let visual content design intimidate you. It's more than achievable than you think - and we can't wait to see what you come up with!
Sometimes there are issues with fonts and layers when you download your file from Canva. Not to worry, if you face problems, you can always reach out to us at ask.lightningprints@gmail.com.
Custom Pull-up Banner design
If you do not have a design in mind, we can help! We are offering custom design services and currently waiving off the design fee (worth $50). Email us a rough guideline from you on what you expect in the design at ask.lightningprints@gmail.com. We also have a variety of pull up banner sizes and colours available.
That’s all for today folks. Do share this blog with your family and friends. Till next time, cheers!
